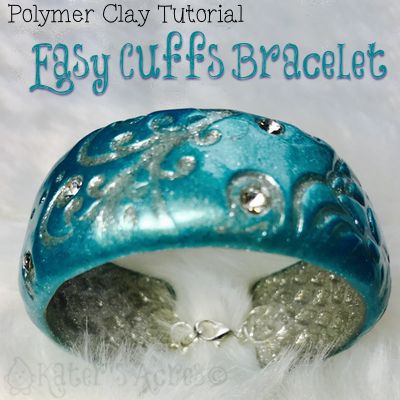
Making your own polymer clay cuff bracelets couldn’t be easier with this EasyCuffs Tutorial from Teresa Pandora Salgado. Learn to make your own easy, simple, & quick bracelets using Teresa Pandora Salgado’s EasyCuffs bracelet kit.
EasyCuffs Tutorial
Fully Condition 1/2 block Translucent and your choice of 1/s block Premo Accents metallic clay together.
- Roll on the 2nd largest setting of your pasta machine.
- Form into a long strip.
- Emboss on both sides (using the “sandwich method) using two different stamps or embossing sheets.
- Choose ONE of your lucite width guides from your EasyCuff kit and matching EasyCuff metal blanks. Be sure that they match in width.
- Trim the clay to match the lucite blank.
Wrap the clay around your metal form.
- Smooth seams and edges using your fingers.
- Trim the edges to fit the metal blank using a craft knife or clay blade.
- Insert jump rings (as needed) into the clay with open side embedded into the clay.
- Add mica powder to top surface of cuff (shown: Tide Pool from Christi Friesen).
- Remove from metal form.
- Bake in your dedicated polymer clay oven for 45 minutes at 275 degrees.
- Once bracelet has baked, finish adding metal components as desired.
- Wear & Enjoy!
Get Your Own EasyCuffs Kit Here | Get Your Own EasyCuffs Extras Kit Here
Happy Claying,


 Fully Condition 1/2 block Translucent and your choice of 1/s block Premo Accents metallic clay together.
 Wrap the clay around your metal form.
I have these forms. Tiny Pandora bracelets are my fav to make. I leave mine on the form to bake so they don’t get distorted. Will just pop off after cooling.
I leave mine on the form sometimes too. I guess it would largely depend on the style of bracelet you are making. Thanks for the reminder and the tip Jo!
I just got this bracelet making set. It is fantastic! For anyone on the fence, it is so worth the money. I have just started to play with them. They are top quality and I would highly recommend them to anyone!