
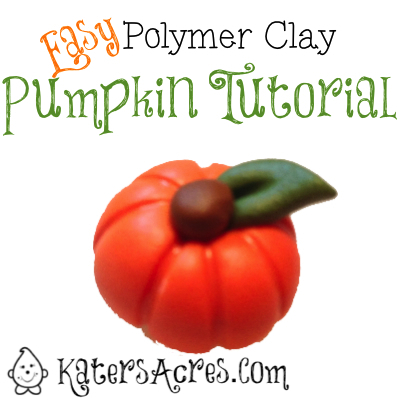
Fall is just around the corner. To help you get ready, here is a quick and easy polymer clay pumpkin tutorial that you can do yourself without any fancy tools or equipment.
Materials:
- Polymer Clay in orange, brown, & green
- Needle tool
- Pasta Machine or Acrylic Brayer
- Your hands
- Ball Tools or the End of a paint brush
- Craft Oven to bake your figurine
On the Blog: How to Make a Polymer Clay Pumpkin Tutorial by KatersAcres http://t.co/27ZTxpQ8N6 Get a jump on your fall designs!
— Kater’s Acres (@katersacres) July 31, 2013
Instructions:
 Condition your clay
- Use any size ball of clay that you want your pumpkin to be.
- Roll into a perfect ball and set it on your work surface.
- Using your dotters (or the end of a paint brush as shown) poke a gentle hole in the top of your circle.
- Using a needle tool place the tool on the top ridge of the opening and ROLL the round toward the bottom.
- Repeat this process as many times as you want until your pumpkin has the rounded “pumpkin” look.
- NOTE: I generally make 8-9 segments per pumpkin.
- Then sculpt a simple leaf shape and insert it into one side of the hole.
- Make a simple stem and also push it into the hole.
- That’s it – you’re done!
- Bake your pumpkin according to the directions on the package!
 Condition your clay
Don’t forget to sign up for our free emails to get more sculpting tutorials weekly!
Thanks for joining me today,
Happy Claying,

