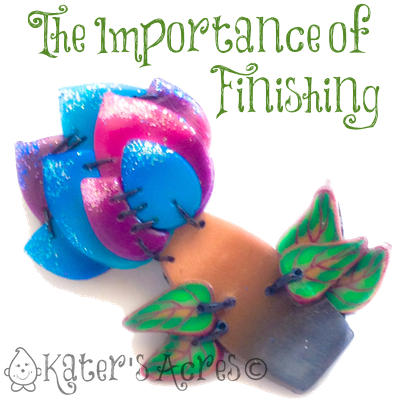
One of the things as artists that we need to pay careful attention to is not only the execution of a design, but the finishing aspects of designing your work. Today we’re going to talk a little bit about finishing your polymer clay pieces to give a professional and high quality look that is above reproach.
From Crafter to Artist
What separates your run-of-the-mill crafter from an artist? The finished product.
There are millions of crafters around the globe, but less than 20% of those every attain the level of ‘artist.’ Why is this? Because the major difference is finishing. Polymer clay finishing is not just something to talk about, it’s something to do.
I was recently at a large craft show & ran upon another polymer artist who was doing jewelry. Her eye for style & color combinations was fantastic! Her designs were unique. But there was one huge problem: her workmanship was terrible. The bracelets & pendants had rough, uneven edges. This wasn’t part of her design aspect, you could tell. Rather this was not taking the time to finish her pieces. Those bracelets would have sold like hot-cakes, even with the $65 price tag, had they been finished. All she needed to do was spend some time sanding & sealing her pieces. They would have sold and possibly even with a higher price tag. Here’s what I heard one lady say as she stepped away from her booth: “I would have bought that if it wasn’t so sharp & prickly, I could never wear that.” The other lady that was with her remarked “For $65 she needs to finish it.”
Please understand, this lady’s booth was incredible! Her work was gorgeous and she had hundreds of pieces, but she hadn’t finished it. Any of it. You could argue that this was part of her style. Maybe it was. But to me and others that I overheard, the overwhelming voice was that her work was “unfinished.”
Even work that has an organic, rough, or natural look can still be finished without losing it’s design elements


How To Do It
One of the worst things that you can do to yourself and your work as an artist is to hurry or rush through something you are working on. There is a wide variety of time that is spent with each person on each item they make. What takes one person 30 minutes may take another 2 hours. This doesn’t mean that mistakes don’t happen, because they do. This doesn’t mean that if your pieces isn’t 110% perfect that it doesn’t have value. If your piece calls for it, make sure you are taking time to do some of these necessary steps for a completely finished look:
- Sand your beads.
- If you have put a surface treatment on your piece be sure to seal it with Varathane (available in Matte, Semi-Gloss, & Gloss).
- Add an antiquing effect to enhance your designs.
- Smooth all your seams.
- Join all your edges.
- Smooth blatant & obvious fingerprints that detract from your design.
- Clay that shouldn’t be there (flecks on your work from a prior project), remove them.
- If it shouldn’t be there … don’t let it stay there! Whether it’s mica powder (remove with tape), glitter (remove with tape or a needle tool), or anything else. Take the time to remove it.
A Recent Example from My Studio

The bottom line is this: take the time to pay attention to the details & finish your pieces and your results will automatically elevate you from crafter to artist automatically.
Thanks for joining me today,


Thanks for this post Katie
You’re welcome Deb! Thanks for visiting!
Great post! If you’ve ever studied shoppers at a craft show, you’ll see that a lot of them pick up jewelry and immediately flip it over to the back side. Lots of people can make the front of their pieces look nice, but not everyone takes the same care with the back. I’ve personally seen all sort of stuff on the back — wires poking out, splotches of paint, mysterious sticky bits … Your advice is right on!
Thank you Michelle for your input into the craft show jewelry market. I agree that the back is important too! I don’t make a lot of jewelry so I can’t attest to seeing this pattern, but I know that I do this myself to other people’s work. Come back & join us another time. It’s always great to hear from our readers.
Thank you so much! I’d become so discouraged with my attempts at miniatures that I quit for now! This gives me incentive to go back and work over what I’ve already done and try some new items! Took three times of reading this same sort of info. from you…duh! Thanks so much for offering your info to all of us until we actually GET it! mike (michaelann)
You’re more than welcome Mike. We all need reminders, even me! Thanks for stopping by & be sure to come back and check in with us.