
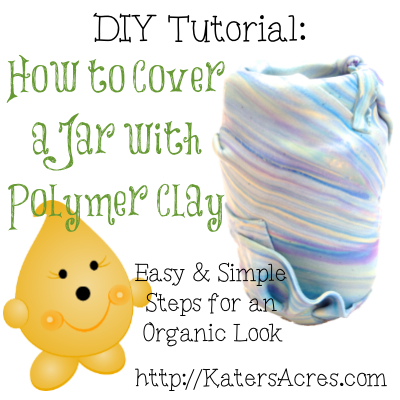
Polymer Clay Tutorial
This polymer clay tutorial will teach you how to take a glass jar and cover it will polymer clay to give an organic and “rustic” look to your design.
Materials:

- Pasta Machine
- Glass Jar
Instructions:
 Gather your polymer clay in any color you wish for your background.
- Condition all your clay.
- Take your clay and organize them into a log with colors alongside each other.
- Twist and roll your log.
- Do this many times to achieve a nice color blend.
- Run through the pasta machine on a mid-setting and see what “pops out”
- Feel free to repeat this process, but do not over-blend or you will create mud.
- Cut out your clay in sections to show off the most interesting blends.
- Place your cut pieces of clay over your jar making sure to cover the rim.
- Cover your jar completely.
- Add any decorations that you would like to enhance your jar.
- See the tutorial to add koalas in the Christi Friesen style from the Friesen Project.
- Bake in an oven covered with foil at 265 degrees for 60-75 minutes.
- Don’t forget to SIGN UP to get more FREE tips, tricks, & tutorials in your email!
Tips for an “organic look”:
- Do NOT blend all your seams.
- Create folds in the clay.
- Create pockets in the clay where things can “grow” or “bloom” out of.
- Use the most “interesting” patterns that emerge from the clay to give your jar character.
Thanks for joining me today,
Happy Claying,


Here’s what I did with my jar….
I WOULD LOVE TO WORK WITH POLYMER CLAY WITH MY OLDE GRANDCHILDREN.
MAYBE MAKE TINY THINGS OR WEIRD THINGS IN A JAR OF INK WATER.
THANKS