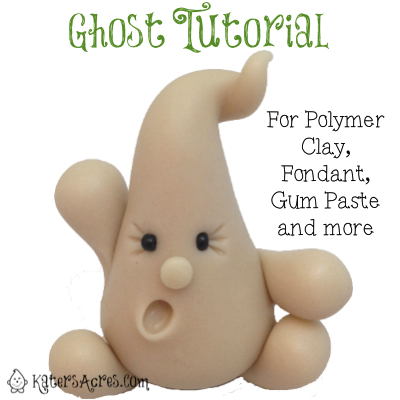
With Halloween just around the corner, I’ve done another cute (and did I mention free) tutorial for you to have fun with this fall!
Materials:
- Polymer Clay in glow-in-the-dark
- Pasta Machine or Acrylic Brayer
- Black Seed Beads
- Inkadinkadoo Chalk Palette
- Micro Screws (optional)
- Ball tools
- Your hands
- Craft Oven to bake your figurine
Polymer Clay DIY Craft Ghost Tutorial for Sculpture by KatersAcres http://t.co/1rjqPcL5IN Perfect for a Halloween project! Come & get it!
— Kater’s Acres (@katersacres) August 20, 2013
Ghostly Instructions:

- Condition your glow-in-the-dark clay.
- Roll clay into a ball about the size of a walnut.
- Sculpt that ball into a teardrop with a really pointy top.
- Gently bend & twist the pointy top into a curly “ghost like” swoosh!
- Add arms and some legs, making sure to blend the seams together.
- Add a nose and use little black seed beads for a eyes.
- Using a ball tool, add a ghost like mouth.
- If you choose, add some “cheeks” using one of your chalks.
- Note: Keep in mind that wherever you add chalk, there will be a “dark spot” there when your ghost “glows” at night due to the opaque obstruction caused by the chalk.
FINAL INSTRUCTIONS:
- Depending on the type of clay used (premo, sculpey, cernit): bake in the oven at 265 degrees, covered in foil, for approximately 45-60 minutes.
- NOTICE: Check your clay package instructions for appropriate baking times & temperatures.
Don’t forget to sign up for our free emails to get more sculpting tutorials weekly!
Thanks for joining me today,
Happy Claying,


Den er så sød
Your Halloween Ghost is adorable Katie!! 🙂