
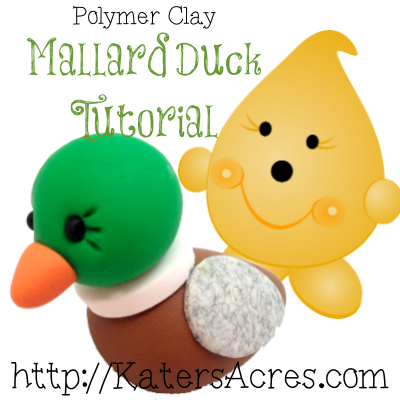
A quick, simple, fun polymer clay duck tutorial featuring the colorful Mallard Duck!
Materials:
- Polymer Clay in Emerald Green, White, Brown, Orange, & Granitex Grey
- Pasta Machine or Acrylic Brayer
- Kemper Teardrop Cutters
- Beads for eyes
- Craft Oven to bake your figurine
Polymer Clay Mallard Duck Tutorial
Now that you have gathered all your materials, let’s start making a cute little duck … a mallard duck!
 Condition ALL colors of clay.
- Roll a ball of emerald green polymer clay for the ducks head.
- Roll a smaller ball of orange polymer clay and form it into a triangle.
- Run the white polymer clay through the pasta machine, using a round cutter, and cut a circle of clay on the thickest setting.
- Roll a ball of brown polymer clay for the duck’s body that is approximately one and a half times larger than the head.
- Run the granitex polymer clay through the pasta machine, using a teardrop cutter, and cut two teardrops of clay on a middle setting.
- Using the photograph as a guide, assemble the duck in the manner shown on the left.
- Attach the grey wings to the brown duck bodies.
- Attach the white neckpiece to your brown body.
- Attach the emerald green head to the white neckpiece.
- Attach the orange beak to the front of the green head.
- Insert the black eyes to the front of the head.
- Bake in the oven at 275 degrees, covered in foil, for approximately 45-60 minutes.
Thank you for being a part of the Kater’s Acres Family, Sculpting Blessings,
