Polymer Clay Projects – Natasha Beaded Keychain

Posted on 3 Comments
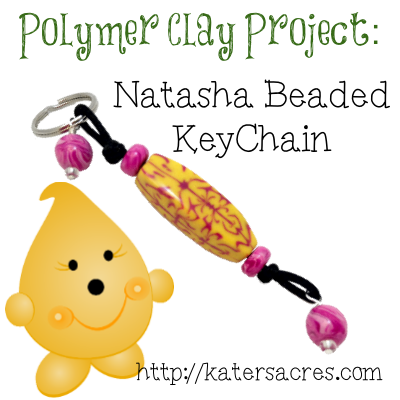
Natasha Beaded Keychain Polymer Clay Projects Tutorial by KatersAcres

Polymer Clay Projects Requested

I love it when my fans & readers have specific polymer clay projects in mind.  I have had several requests lately for a fun beaded project tutorial.  As many of you know I’m not really a jewelry person, not because I don’t like it, because I most certainly do, but rather because I’m not a person that tends to “accessorize.”  I wear a wedding ring & my earrings and that’s it.  Sometimes you’ll catch me wearing a watch, but other than that … nadá.  So while I love to make beads, since I don’t wear jewelry (or sell it in my Etsy shop), I’m never sure what to do with the beads.  So for those of you who are like me, here’s a really fun handmade Natasha Bead Keychain.  Let’s get started, shall we?

Continue reading Polymer Clay Projects – Natasha Beaded Keychain

How to Make a Multi-Dimensional Texture Plate from Polymer Clay

Posted on 16 Comments
How to Make a MultiDimensional Texture Plate from Polymer Clay by KatersAcres https://katersacres.com

Multi-Dimensional Polymer Clay Texture Plates

Today’s tutorial is brought to you in video form. The video begins with an explanation of all the materials that you will need to complete your polymer clay texture plate.  After the presentation of materials, you will see the entire process of creating a texture plate in fast motion with embedded instructions.

Continue reading How to Make a Multi-Dimensional Texture Plate from Polymer Clay

DIY Simple Buttons Polymer Clay Tutorial

Posted on 12 Comments

Make Your Own Polymer Clay Buttons

Owl Button Worksheet by KatersAcres

It’s a do-it-yourself world out there and crafters around the globe are finding better, simpler ways to make things themselves.  From recipes, baked goods, clothing, jewelry, and so much more.  Tuesdays are usually devoted to a polymer clay tip, something that will help you clay better.  I was asked to do a tutorial on how to make buttons.  This is a beginner’s tutorial for simple buttons.  You can use the knowledge you already have in your polymer clay technique repertoire to build on these simple buttons.

Continue reading DIY Simple Buttons Polymer Clay Tutorial

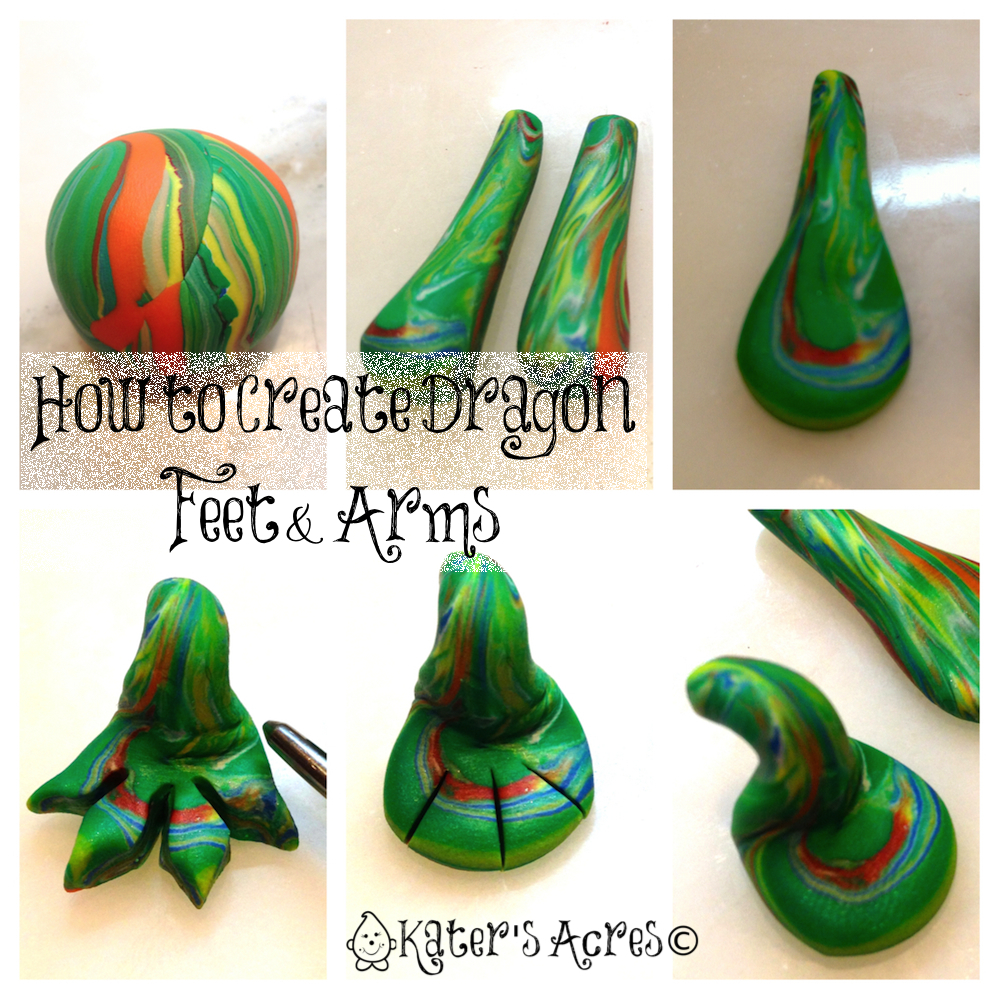
Make Your Own Friesen Style Polymer Clay Dragon – How to Make Arms & Legs Tutorial

Posted on 6 Comments
How to Make Dragon Arms & Legs Tutorial by KatersAcres https://katersacres.com

Make Your Own Christi Friesen Style Dragon Tutorial on Kater's Acres Polymer Clay Blog https://katersacres.com

Well, it’s finally here … the second week of Tutorials for the 2013 Friesen Project. I have loved seeing all of your work and dragons that you have made over the past week since we began this project.  Here are two of my personal favorites…both done as an offspring of the Wendyll dragon from the first tutorial.

Continue reading Make Your Own Friesen Style Polymer Clay Dragon – How to Make Arms & Legs Tutorial

How to Add a Patina to a Polymer Clay Item

Posted on 10 Comments
How to Give a Finished Polymer Clay Piece an Antique Finish on Kater's Acres Blog https://katersacres.com

Sometimes your polymer clay pieces need an extra something, just a touch of something special to bring out the details that you have embedded into the clay.  When you have carved or engraved your clay, you will often want to accent those pieces after they have finished baking.  Many artists call this adding a patina to polymer clay.  Other artists call it antiquing an item.  For today’s mini-tutorial, we’re going to call it an “antique finish.”  There are many ways to do this, but this is the way that I find the easiest…

Continue reading How to Add a Patina to a Polymer Clay Item

Christi Friesen’s Book 1 Dragons: Tutorial to Create Your Own Wendyll Dragon

Posted on 22 Comments
Make Your Own Christi Friesen Style Dragon Tutorial on Kater's Acres Polymer Clay Blog https://katersacres.com

Well, it’s finally here … the first week of Tutorials for the 2013 Friesen Project.  Are you excited? I know that I am! After last week’s Friesen Friday and reading your book, some of you just couldn’t wait to dive right in and have already created your dragon.  That’s fine, no big deal!  But throughout this month there will be several different “specific components” you are going to need to work on for each project.  Without any further ado however, let’s get started!

PLEASE NOTE: In order to do this dragon tutorial, you will need Christi Friesen’s Dragon book that is available for purchase here.  Due to copyright, exact details and process have been minimalized to protect Christi’s art and design.  Polymer clay is the most shared community in the world, please do not ruin that by going against US copyright laws.

Continue reading Christi Friesen’s Book 1 Dragons: Tutorial to Create Your Own Wendyll Dragon

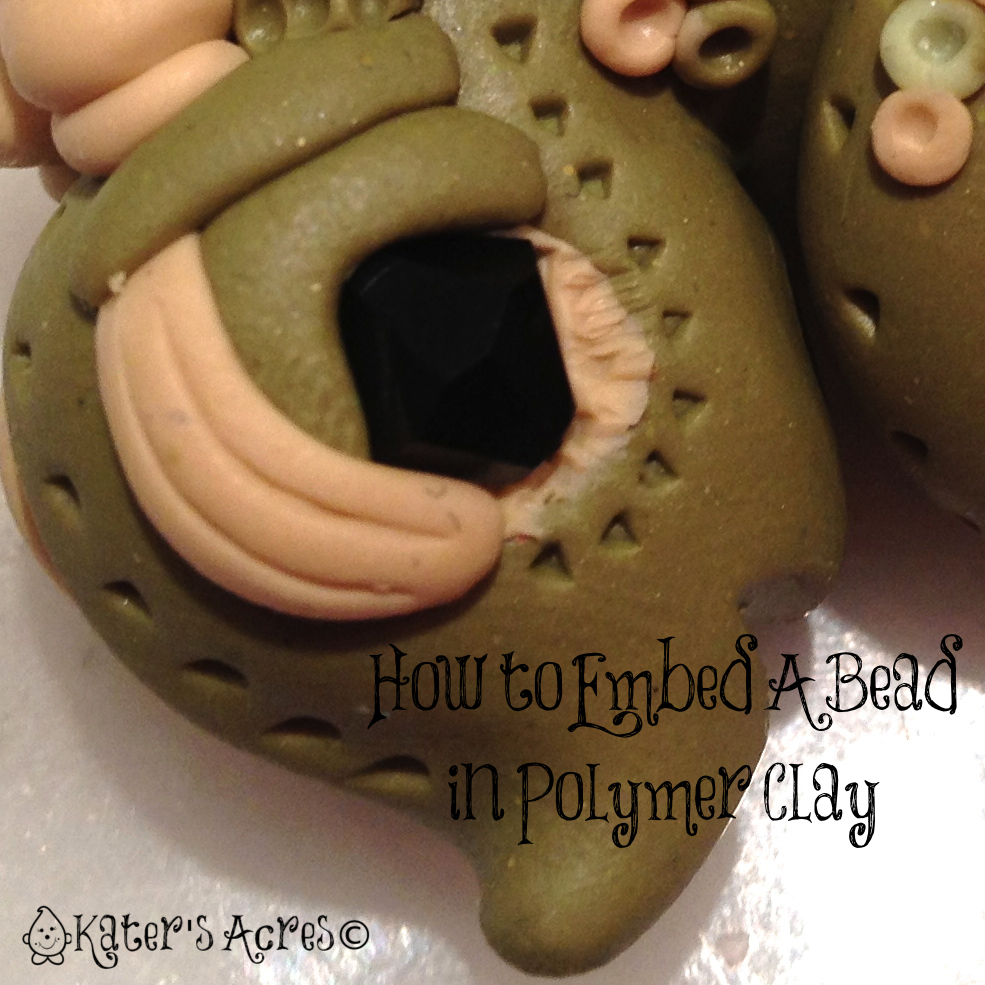
How to Embed a Bead into Polymer Clay

Posted on 7 Comments
Mini-Tutorial How To Embed a Bead Into Polymer Clay by KatersAcres

 How to Embed a Bead Into Polymer Clay

Sometimes It’s NOT as Easy As It Looks

For anyone who’s a self taught polymer clay artist, you’ve already made some critical mistakes in claying.  You tried a shortcut (that didn’t work) or tried a way to do something that ended up ruining your piece.  It’s okay, don’t worry, we’ve all been there.  This month we are going “back to basics” in creating with polymer clay.  So for today’s mini tutorial we’re going to go over the proper way to embed a bead into polymer clay.

Continue reading How to Embed a Bead into Polymer Clay

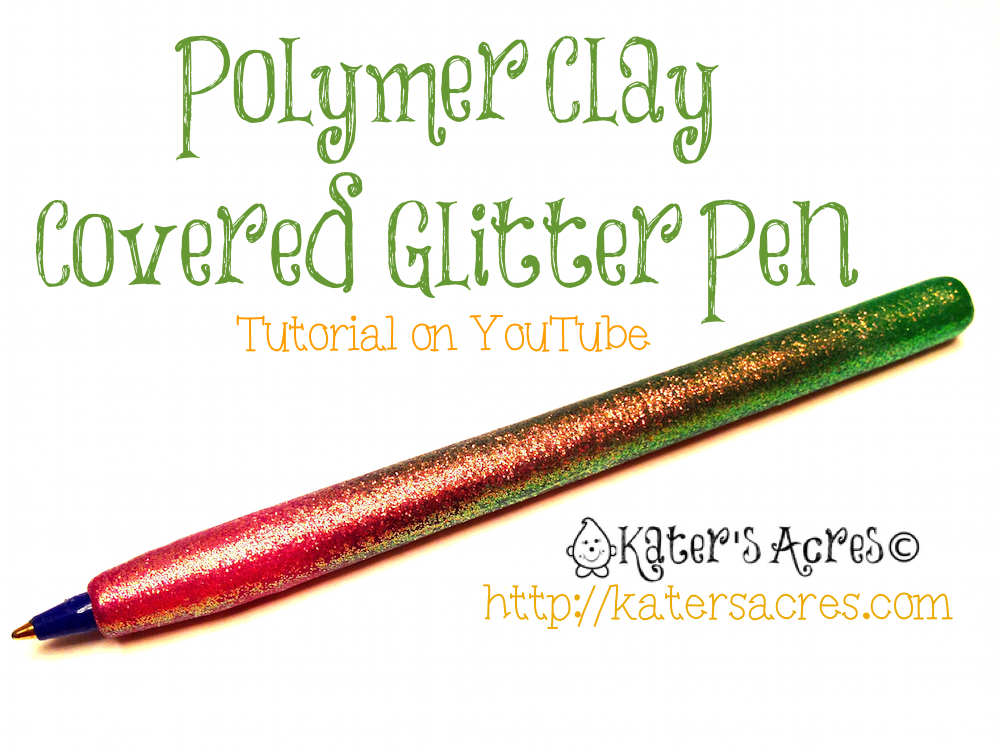
Polymer Clay Pen Tutorial – A Glittery Girly Pen to Make You Sparkle

Posted on 12 Comments
Polymer Clay Pen Tutorial by KatersAcres

How to Cover a Bic Round Stic Pen with Polymer Clay

Well, it’s about time…my first ever polymer clay video tutorial!  Perhaps I can get one of these made every month for all my wonderful readers and claying friends…but we’ll have to see.  Today’s how-to is a polymer clay pen tutorial.  Before you begin watching the video there’s a few things you will need.

Continue reading Polymer Clay Pen Tutorial – A Glittery Girly Pen to Make You Sparkle

Weekend Polymer Clay DIY Snowman Kit Challenge

Posted on 7 Comments
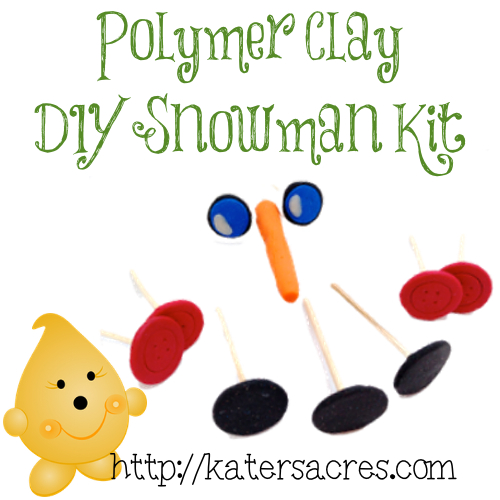
DIY Polymer Clay Snowman Kit Weekend Project on @KatersAcres Blog

Everyone Loves DIY Snowman Kits

There aren’t many people who don’t like snowmen…unless you live in the tropics where snowmen do not exist because…well, they melt. But for those of us who live in areas with four seasons, we are blessed to have the ability to make snowmen when those gorgeous white flakes arrive.  Every year I anticipate the coming of the snow, making of snow angels, and building the cutest snowmen in our country acre.  But there’s always something missing…in my head, a snowman’s eyes tell his story.  Well, for clayers and crafters, here’s a great weekend project for you. A DIY Snowman Kit. Perfect for Christmas gift exchanges this year.

Continue reading Weekend Polymer Clay DIY Snowman Kit Challenge

Polymer Clay Snowflake Millefiori Cane by Meg Newberg

Posted on 2 Comments
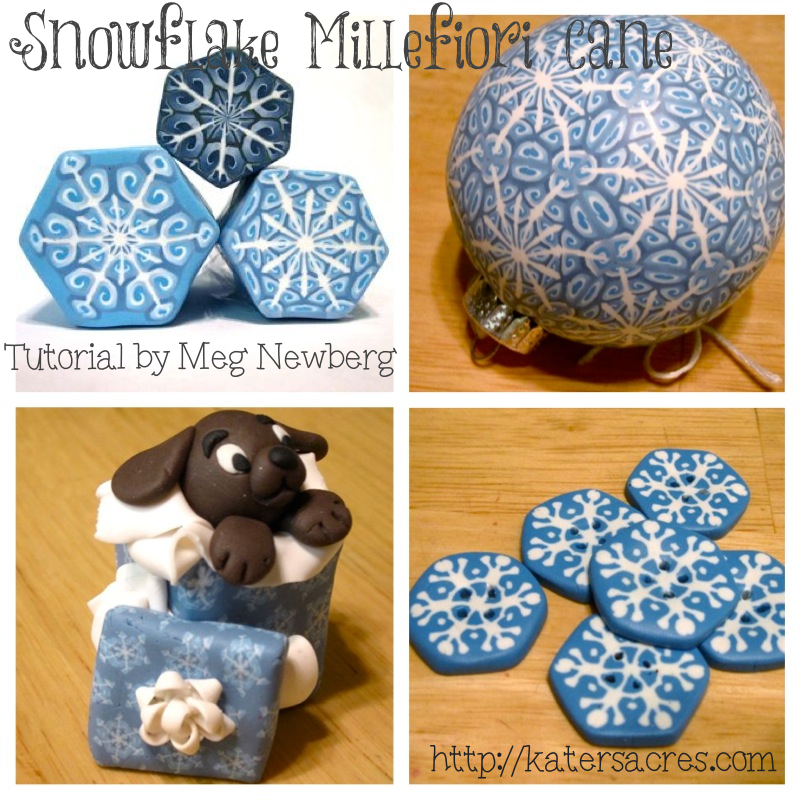
Snowflake Cane Examples by MegNewberg on KatersAcres Blog

Polymer Clay Tutorial for Snowflake Millefiori Canes on KatersAcres blog by Meg NewbergDon’t you just love winter?  I know that I do.  Winter is my second favorite season, second only to fall.  Living in NW Pennsylvania near Lake Erie, we get a LOT of snow every year.  We live in the snow-belt region of the country and I love it!  Yesterday I was delighted to showcase the art and talent of Meg Newberg. Meg does a lot of awesome things with clay, but her best are made with millefiori canes.  Today she’s going to show us her snowflake cane and where you can purchase the tutorial to make it yourself as well.

Continue reading Polymer Clay Snowflake Millefiori Cane by Meg Newberg

Tutorial: Cut Millefiori Canes Like a Pro

Posted on 7 Comments
Cut Perfect Millefiori Cane Slices with this Quick Tutorial from Kater's Acres

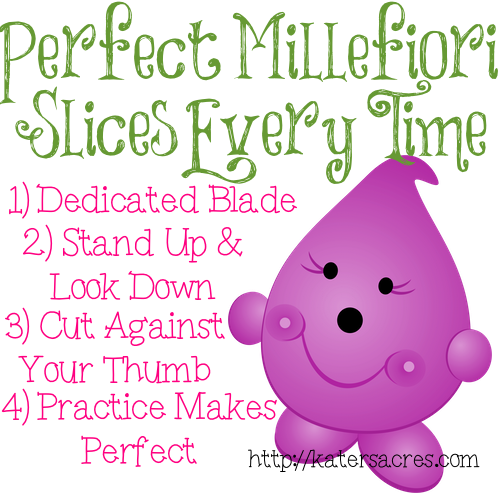
One of the hardest things to do is to cut a cane in an even, thin slice, without any drag.  When I first began working with polymer clay millefiori canes, both raw & baked, I had the hardest time cutting them in thin, even slices.  One side would always be thicker than the other or I’d adjust my blade halfway through the slice and create very unpleasant “drag marks” on the sliced piece of cane.  After several years, I got smart and solved my problem…

It’s not easy to cut a millefiori cane with accuracy and precision every time.  Trust me, I know.  But there are a few things that you can do to make your millefiori cane cutting adventures a little easier.

Continue reading Tutorial: Cut Millefiori Canes Like a Pro

Repurpose X-acto Blades Using Scrap Polymer Clay

Posted on 3 Comments

 Repurpose X-acto Blades Into a Great New Tool

Repurpose x-acto blades? Absolutely you can do that! This simple and quick tip had a huge response in last week’s email, twitter, & even on FaceBook.  It was shared, retweeted, and commented on more times that any previous tip I had posted. So today I will show you how you can take that old, grungy, and slightly beat up old cutting blade and repurpose x-acto blades into something more useful.

Continue reading Repurpose X-acto Blades Using Scrap Polymer Clay

Embossing with Powders a Polymer Clay Tutorial

Posted on 12 Comments

Embossing with Powders a Polymer Clay Tutorial

Have you ever taken the time to emboss something on your clay?  I love to emboss patterns, stamps, and whatever kind of texture “catches” me at that moment.  I love the crisp, clean, almost effortless and yet professional look it gives to my pieces.  One of the hardest things for me however, is embossing with powders (i.e.: Pearl ex, Perfect Pearls, etc).  A lot of clayers have problems with this as well.

I’ve read many articles that say you should slightly dampen your stamps first.  *Sigh*  This still didn’t help me.  The result was half on and half off, dark in some places and not in others, you get the idea…I just wasn’t happy with the results.  And I always emboss things…so I needed a solution that was quick, easy, and stress free.

Continue reading Embossing with Powders a Polymer Clay Tutorial

Faux Stained Glass?! Made with Polymer Clay

Posted on 2 Comments
Faux Stained Glass Window made with Polymer Clay by KatersAcres

Faux Stained Glass

with Translucent Liquid Sculpey

We are trying some new things with our store this year.  Some of those things we have never done before.  Or in the case of our Interpretive Art Pendant Series, we’ve done them a lot but never listed them in our Etsy store.  One of the NEW things that we are trying to 2012 is “faux stained glass” sun catchers.  The picture above is a picture of the three sun catchers we did in honor of Valentine’s Day.  We hope to do MANY more suncatchers.  These suncatchers are made with 100% polymer clay. What’s nice about these is that they are UNBREAKABLE!  Unlike those expensive real glass sun catchers, if these fall to the ground, off the door, or onto the tile below they will NOT shatter.  You won’t have to worry about your children or pets stepping in the glass!


The pattern was first hand-drawn and placed on parchment paper. The black clay was used to outline the design. Then translucent liquid Sculpey was blended together with vivid alcohol inks. The colors were mixed and then place into the heart. The colors were then “feather” together using knitting and sewing needles. The heart was then baked. The resulting effect is a semi-translucent “sun catcher” that allows light through in beautiful patterns. Try making these also with mica powders.


Sculpting Blessings,

KatieSignature