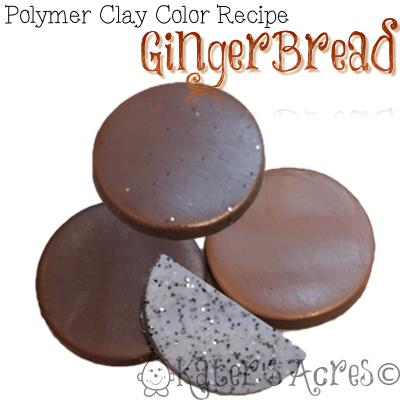
The holiday season is upon us and this time of year means that many of us will make gingerbread men, girls, bears, toys, reindeer and so much more. Today I’m sharing with you my very favorite recipe to make your own “Gingerbread” colored clay.
November 2015 #PavelkaProject – Making a Polymer Clay Covered Jar
Welcome back for another great month of the Pavelka Project! This month we a doing another more ‘open-ended’ project for you. This month we are using the book, Quick & Easy Gifts with Polymer Clay, and using the Pet Project idea. I know many of you don’t have pets, so you do NOT have to create a pet jar, but you DO need to decorate a jar for this month’s project. Lisa offers literally dozens of ideas throughout all her books on techniques, color palettes, and so much more. [Order your books here] I also have over 150 tutorials here on the site you could use to get ideas to decorate your jar.
Don’t Forget:You MUST in some way decorate or cover a jar with polymer clay.
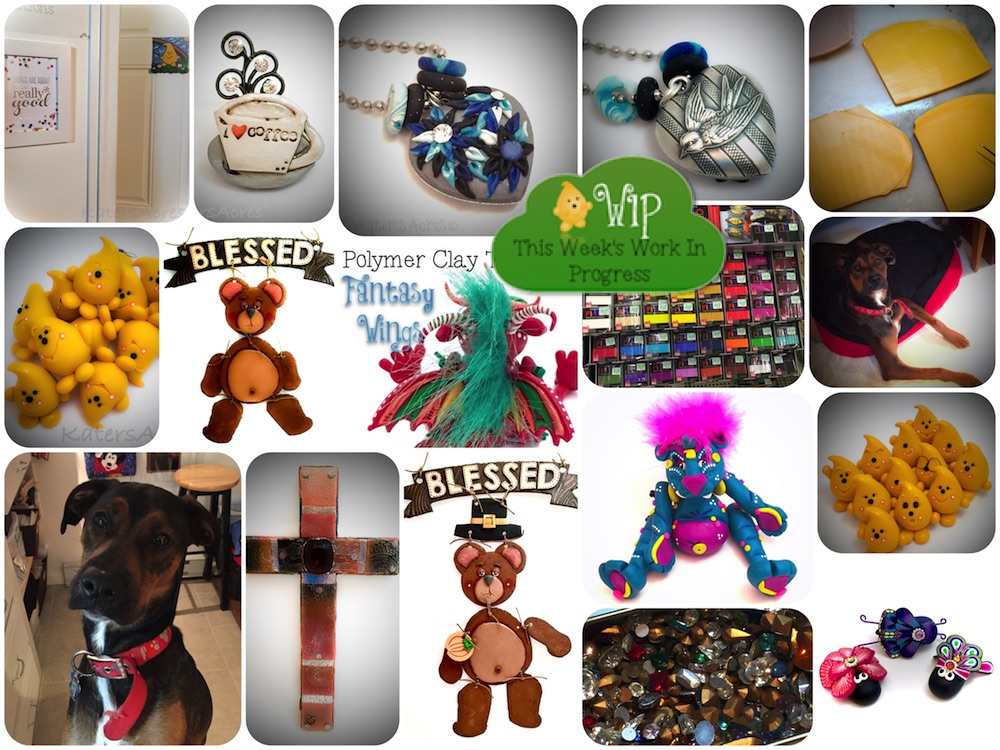
What’s Going on in KatersAcres Polymer Clay Studio?
It’s been a busy few weeks around here. There’s so much going on that I don’t know where to start! Often I post oodles of photos on Instagram during the week so you can follow and stay up to date with me. Feel free to come over and follow me on instagram so that you can see behind the scenes work in my studio as well as some tips & tricks as I post them.
CLICK ON THE PICTURE BELOW TO ENLARGE IT.
Welcome to Kater’s Acres. This week I got a new Erin Condren print in the mail. It says “It’s about to get REALLY good.” Want to know where I hung it? To the left of the entrance to my polymer clay studio. Oh yeah! [Save $10 off your new planner purchase with this link]
Coffee addict? YEP! I made myself this coffee brooch in the studio to help feed the addiction. [See it on Instagram here]
This faux embroidery necklace was made using a B’Sue Boutiques silver plated stamping. The hollow back I used for the “frame” of my necklace, allowing the sparrow on the back to be a nice added “reverse effect.”
See that shelf completely filled with Fimo polymer clay? Yep, that’s an entire shelf of the new Fimo Professional, the full line of which is now being carried at Hobby Lobby.
Mocha Latte, is the newest studio supervisor, you can see her in two of these photos.
Those three bugs in the corner were sent to my swap partners for the Polymer Clay Adventure swap. I will show you the bugs that were sent to me in another post.
What do you get when you mix a boa with polymer clay? You get an awesome monster doll that you can make yourself for Halloween! Get the tutorial here.
All those gorgeous sparkly bits? Those are gorgeous vintage stones from B’Sue Boutiques.
Be sure you don’t miss the FREE tutorial on how to make your own fantasy wings.
The newest Parker’s Clayful Tutorials Club tutorial featured a patterned project to make your own bear wall hanging with changeable seasonal decorations. [Get the tutorial here]
Last but not least, this cross was made for ABC Ohio’s Executive Minister who is retiring at the end of the 2015 year. [See a closeup on Instagram here]
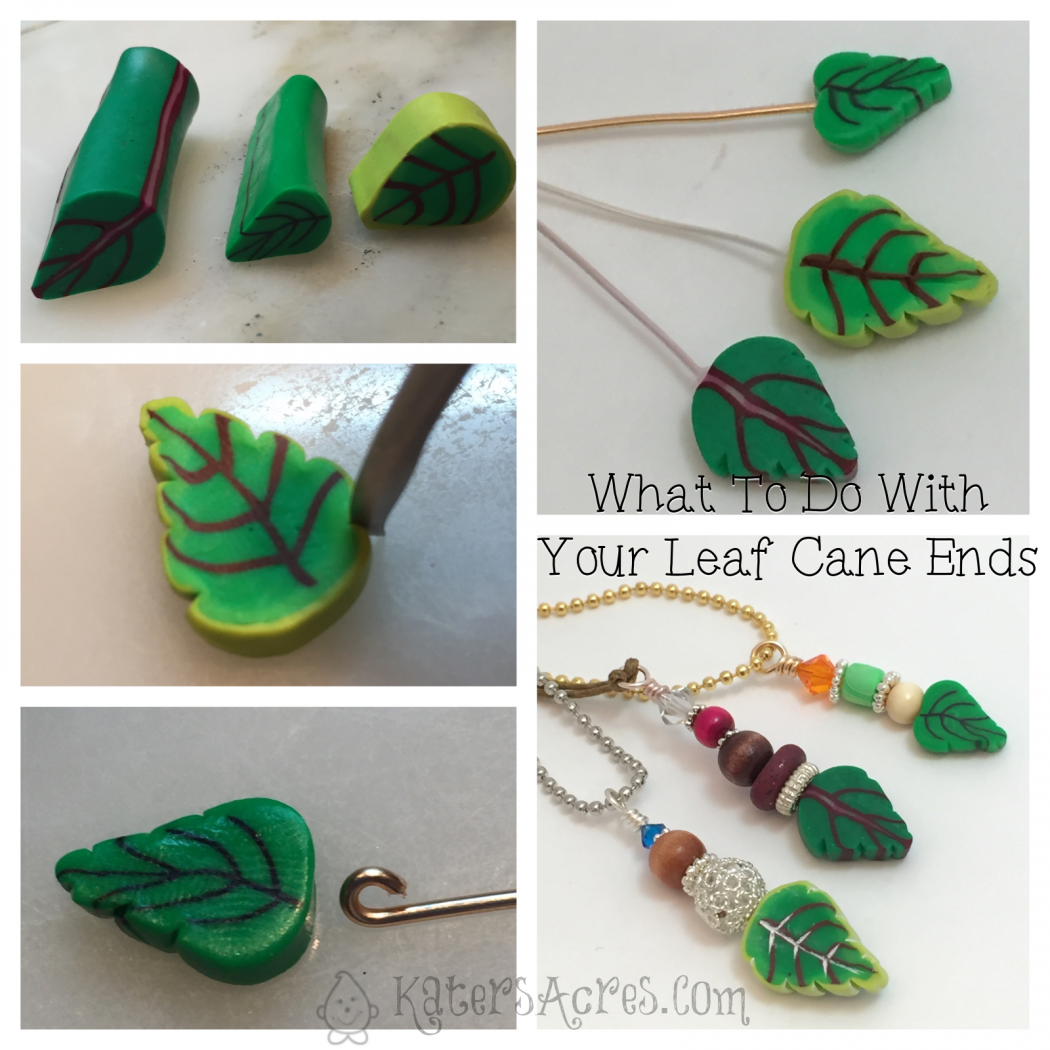
PRO TIP: Look at What You Already Have
It’s extremely easy to take the things we see as “useless” and commit them to our scrap bowl. I implore you, at least WAIT until the end of your claying session to do anything with those scraps (including wadding them up and confiscating them into the scrap pile). At left, you will see just one such example. Use your cane ends, don’t throw them out. Cane ends are one of my FAVORITE “useless” parts of clay.
Pin of the Week:
Photo from Garie International
The pin of the week is something that I have found online, pinned to one of my pin boards on Pinterest, and has received the largest amount of repins or hearts. This time around the Pin of the Week goes to Garie International’s Image Transfer Technique that can be done without liquid clay.
What’s going on in your studio? What are you working on? Is there a project you’d like to see me tackle and feature on the blog? Let me know in the comments below. I’d love to hear your thoughts & ideas!
Welcome to Christi Friesen Week! If you missed what we’re going to be doing this week, you can get the details here. In the meantime, let’s get right to this quick, simple, and easy tutorial. Are you ready? Let’s get started.
My 2015 polymer clay challenge was to create (at least) one polymer clay dragon & one new Parker a week. You can read my personal challenge here. Each participant is encouraged to challenge themselves to something they want to do. Let’s see what this week brought me…
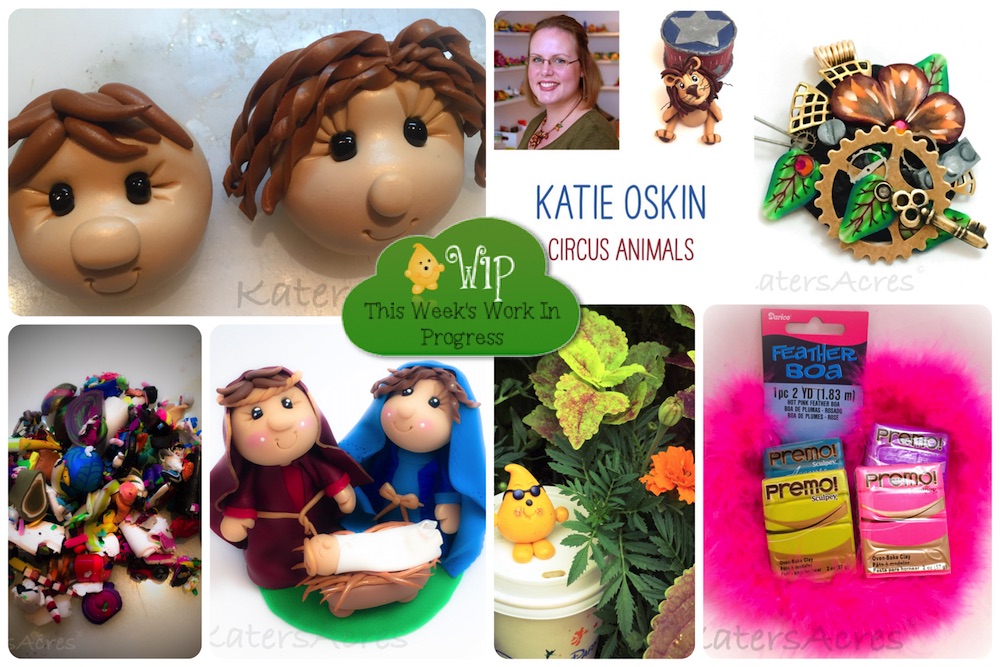
What’s Going on in KatersAcres Polymer Clay Studio?
I’ve just returned from a week long vacation and a couple days away for work in Columbus, Ohio. I hope that you follow me on instagram so that you can see behind the scenes work in my studio as well as some tips & tricks as I post them.
Many polymer artists, especially those who are making series or duplicates of items, rely on color recipes to make uniform pieces. For those of you who have been with me for awhile now, you know that I rarely use recipes. Why? Because I like that all my pieces are different in color, that I don’t repeat colors, and that nothing I make is ever identical. To me it adds to the special nature of my sculptures. But I’m not the norm when it comes to polymer artists… However, that’s not true in all aspects of my sculpting. Especially when it comes to one thing … skin color. For that I do have a recipe, a base recipe that I rely on over and over again. This is my favorite recipe and I rely on it often, it’s how I like to make my skin for my figurines that you can see in The Adoptables.
My 2015 polymer clay challenge was to create (at least) one polymer clay dragon & one new Parker a week. You can read my personal challenge here. Each participant is encouraged to challenge themselves to something they want to do. Let’s see what this week brought me…
My 2015 polymer clay challenge was to create (at least) one polymer clay dragon & one new Parker a week. You can read my personal challenge here. Each participant is encouraged to challenge themselves to something they want to do. Let’s see what this week brought me…
Don’t forget to add #2015PCChallenge to all your social media & blog posts.
Welcome back for another great month of the Pavelka Project! This month we a doing another more ‘open-ended’ project for you. Here’s what you need to do. Look through The Complete Book of Polymer Clay, chapter on Millefiori Canes, and make at least one cane. But don’t stop there! Use your cane to create ONE project. It can be anything your heart desires. I made a mixed media centerpiece mason mug in a fall theme for my dining room table. You can do whatever you’d like: jewelry, mixed media, household items, frames, the options are literally endless. Lisa offers literally dozens of ideas throughout all her books. I also have over 150 tutorials here on the site you could use to make a project.
Editor’s Note: The Pavelka Project ended Dec. 31, 2015. These tutorials are free for your use. All giveaways are over.
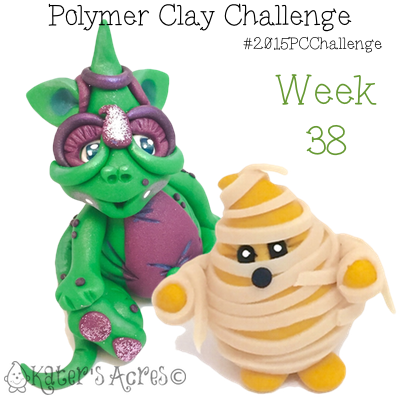
My 2015 polymer clay challenge was to create (at least) one polymer clay dragon & one new Parker a week. You can read my personal challenge here. Each participant is encouraged to challenge themselves to something they want to do. Let’s see what this week brought me…
Don’t forget to add #2015PCChallenge to all your social media & blog posts.
Happy almost October! The air is cooler, the sun sets sooner, and the season of pumpkin everything has begun. Before we get started, there’s something really special coming up, be sure you are signed up to receive the Polymer Notebook, my free email newsletter.
The Art of Polymer Clay: Designs and Techniques for Creating Jewelry, Pottery, and Decorative Artwork by Donna Kato
Donna Kato is one of the best known polymer clay artists in the world. Her name is not only synonymous with quality work, bold colors and patterns, teacher and “notable” person being the maker of “Kato Polyclay”. I am a fan of Donna Kato’s work, so when one of my student brought this book to their clay class [see a list of classes offered in my studio here] and wanted to show me some work they liked, I was glad to see they had already delved into the polymer world. I had the first print of this book from several years ago, however, having many students in and out of my studio through the years, it somehow got away from me. So, I repurchased this updated version recently on Amazon.
My 2015 polymer clay challenge was to create (at least) one polymer clay dragon & one new Parker a week. You can read my personal challenge here. Each participant is encouraged to challenge themselves to something they want to do. Let’s see what this week brought me…
Don’t forget to add #2015PCChallenge to all your social media & blog posts.